Tuesday, May 31, 2011

Sooner than expected: Oatmeal Cookies

Well, so much for my apology earlier...this recipe was easy and quick and supposedly healthy ;-)


It's made with lots of stuff that's good for you, while still being sweet and filling that "I need a cookie NOW" craving! It isn't the most amazing cookie I've ever made, but it was easy and sweet enough to fulfill a craving pretty quickly without much fat.

I found the recipe here, and they said that they found it on Food Network. There is so much versatility! I made two batches, one with chocolate chips and the other with butterscotch chips, but the recipes have lots of other suggestions for mix-ins!

Ingredients
3 tablespoons butter, room temperature
1/2 cup brown sugar
1/4 cup honey
1 egg
1 tablespoon water
1/2 cup flour (I used all purpose)
1/2 teaspoon salt
1/4 teaspoon baking soda
1 1/2 cups rolled oats
mix-ins

Directions
1. Preheat your oven to 350*. Spray a cookie sheet with nonstick cooking spray. (This was convenient, but I don't think it's necessary to get a good cookie.)
2. Mix together (I used my hand mixer) the butter, brown sugar, honey, egg and water until thoroughly combined.

3. Sift together the flour, salt and baking soda. Then add the oats.


Add the dry ingredients to the wet, and mix well. Add your mix-ins to the blended batter.
chocolate chip version

butterscotch version
4. Drop by heaping teaspoonfuls onto the cookie sheet.

Bake 12 to 15 minutes. Cool on a wire rack.

((Note: because I'm at high altitude and didn't adjust the recipe, I didn't actually cook the cookies at the time or temperature recommended. I always lower my temperature and just keep a close eye on the cookies while they're baking because I have a hard time getting cookies that don't burn or end up super flat. Just my two cents...if you're baking at sea level, you can follow the recipe as is and probably have no issues whatsoever :-)))
Yum!

Dreadfully sorry...

I have not been making anything exciting in the last few days...so I haven't posted anything. My brother-in-law is visiting this week, and my in-laws join us next week, so I have pretty standard recipes set up to make for easy meals and less time spent in the kitchen.

I do have a couple of fun dessert recipes I plan to try in these next few weeks though, so keep an eye out!

For now, I'll share a picture of "Territory Days" in Colorado Springs for Memorial Day, where myself, Lane, Ethan, my sister Emily and brother-in-law Tyler spent the afternoon eating various foods and looking at all the overpriced stuff ;-)

This was Ethan's favorite part of the day:
Turkey Legs! "Don't they make you feel like a man?"

Thursday, May 26, 2011

Blueberry waffle sauce

Oh my word. Blueberries are now my new favorite waffle topping. They were so yummy and sweet!! ((and I totally didn't take any pictures, but our dinner was AWESOME and looked GREAT too!!))

Another Special K recipe which was easy to make, and delicious to eat. Again only made for one serving though, so I doubled the recipe and it made enough for 3 waffles for Lane and myself (6 total) and 1 waffle for Ethan, with a little left over in the bottom of the pot still...

Only a few ingredients too!
Ingredients
3 tablespoons sugar
1 teaspoon cornstarch
1 teaspoon grated lemon peel (I didn't use this because I was cooking a lot of different sides and didn't want to take the time to grate the lemon :-P)
3 tablespoons water
1 cup fresh blueberries, divided (see my note in the directions)
3 waffles (for the Special K recipe I used the Eggo Nutri-Grain Whole Wheat waffles, but you could totally use this on homemade waffles too!)

Directions
1. In a small saucepan, stir together the sugar, cornstarch and lemon peel. Whisk in the water.
2. Stir in 1/2 cup of the blueberries, crushing slightly. (I put in an entire cup since I had doubled the recipe, and when I got to the end of the recipe, I decided that there was plenty of blueberry-ness without adding another cup of uncooked berries, though I'm sure they would have been great!)
3. Cook and stir over medium heat until mixture thickens and boils. Stir in the rest of the blueberries (if you decide to) and remove from heat.
4. Serve over waffles (or pancakes, or biscuits, or whatever else sounds delicious with sweet, warm blueberry sauce!!)

Easy and yummy. Even Ethan liked it! We ate ours with scrambled eggs (with cheese), apple juice and turkey bacon (which, though not bad, just isn't real bacon...I'm switching back to regular bacon next week, and I'll just eat less of it!)

Enjoy!!

Wednesday, May 25, 2011

A surprise post - Tortillas and Flautas!

I wasn't planning on posting anything today because I was feeling unproductive and had a (normally) boring dinner planned for tonight.

But! Then I did a little workout and got a nice hot shower and felt much more productive...so I decided to try out the homemade tortilla recipe I've been saving. And though last night's attempt at food didn't turn out so well, these were great!
and so easy! They made dinner and dessert!!

My recipe is a little different step-wise than the original, but it's the same ingredients and basic principle :-)

Homemade Tortillas (original)
Ingredients
3 cups flour
1 tsp. salt
1/3 cup vegetable oil
1 cup warm water

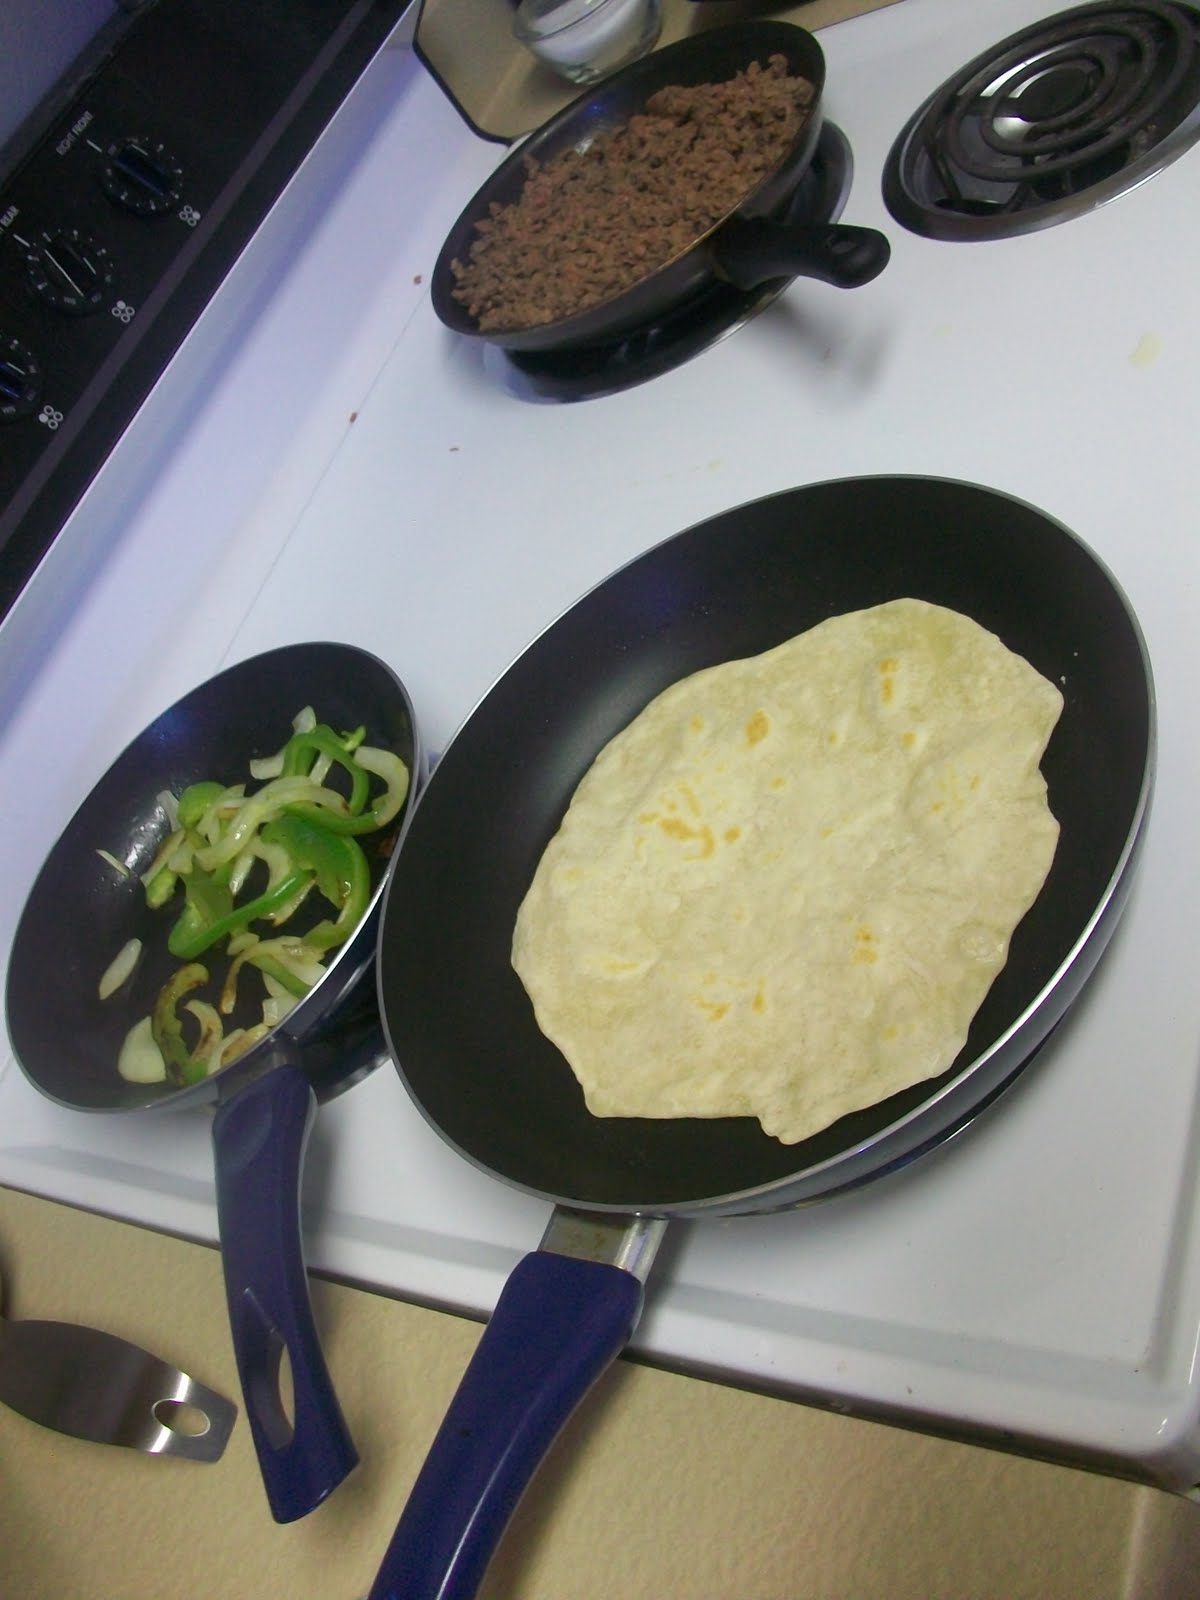
1. Mix all the ingredients until they form a dough.
2. Roll the dough into several small balls. (My batch made 7) Flatten each ball into a tortilla. (I used my rolling pin)
3. Cook each tortilla in a flat pan on the stove until each side has the little brown spots you see on store-bought tortillas.

Burrito night!

SO yummy!!

And then we made them into dessert....oh yes.

This is the original recipe that I based our dessert flautas off, but I kinda just went off the cuff while making them.

Ingredients
Peeled, sliced apples (I used 2 medium sized apples)
cinnamon-sugar
lemon juice
tortillas
butter

Directions
1. Coat cut apples with lemon juice and cinnamon-sugar. (I made mine ahead of time, and let it sit in the fridge)
2. melt a couple tablespoons of butter in a pan on the stove (I used the same pan that I had used for tortillas), brush onto the tortillas. Sprinkle tortillas (both sides) with cinnamon-sugar.
3. Put the tortillas on a cookie sheet and warm them in the oven for a minute or two.
4. Meanwhile, cook the apple mixture in the remainder of the butter until the juice is bubbly.
5. Take the tortillas out of the oven and roll them up carefully. Return to the oven.
6. Continue warming the tortillas in the oven until the apples are soft. Then, carefully open the tortilla wraps and fill with the apple mixture. Roll the tortillas carefully back up, and enjoy!
We had ours with vanilla frozen yogurt!

Monday, May 23, 2011

Teriyaki Chicken Kabobs

Do you know what I love best about grilling?


Not the delicious smoky smell...not that perfect grill flavor...

Give up?

The general lack of dishes that have to be done afterward. No pans, no skillets...just plates...and maybe a few utensils depending on what you cook...

Ha! I was so excited to have these Teriyaki Chicken Kabobs for day 2 of my better eating from Special K. But the best part was the small amount of dishes I had to do this evening after our busy day out of the house.

And they were AMAZING. I'm not normally a kabob person. Usually because they involve pointy sticks filled with grilled veggies and I'm not a veggie person.

But these looked amazing, smelled amazing while making them, and tasted amazing for dinner! Yay for amazing!! When making them, again note that this recipe only makes ONE serving, so you have to multiply the recipe by the amount of people you are serving :-)

Ingredients
1 medium boneless skinless chicken breast (about 6 oz)
1/2 cup reduced-sodium teriyaki marinade/sauce
1 teaspoon rice vinegar
((note: the original recipe calls for red pepper, but I don't care for it much and there was already a bit in my teriyaki sauce, so I left it out))
1/2 teaspoon cornstarch

((another note: the second half of this recipe is for rice upon which to serve the kabobs...but (you guessed it), I'm not a rice person, and didn't want the hassle of cooking rice (probably the reason for the lack of dishes tonight ;-)), so instead we added pieces of pineapple, onion and green bell pepper to a few of the kabobs (for Lane). See the original recipe for how to cook their rice :-))

Aren't they pretty?
Directions
1. Cut the chicken into 1 inch pieces. Place in a resealable plastic bag.
2. In a small (tupperware works best!) bowl, mix the marinade, vinegar and pepper if you're using it. Pour 2 tablespoons of this mixture over the chicken. Seal bag and refrigerate for 2-24 hours, turning occasionally. Cover and refrigerate the remainder of the teriyaki mixture until needed later.
3. Drain chicken and discard used marinade. Thread the pieces of chicken onto two small skewers (or a big one like I used!). In a small microwaveable bowl (if you used tupperware in the previous step, you should be okay to just reuse rather than get a new bowl dirty...yay for fewer dishes!!), stir together reserved teriyaki mixture and cornstarch. Microwave on high for 30 seconds to 1 minute until boiling and slightly thickened, stirring once. Set aside.
4. Grill skewers directly over medium heat for 6-9 minutes or until no longer pink, turning kabobs frequently. During the last 2 minutes of grilling, brush the kabobs with the thickened teriyaki mixture.
Plain chicken like the recipe calls for


Chicken with onions, peppers and pineapple - ala Lane :-)

Lane ate some extra pineapple with his kabobs, while I followed the suggestions from Special K and had 1/2 cup strawberries with 1/2 cup frozen yogurt (I used frozen though the original called for regular yogurt. I needed the feel of sugar) along with a couple teaspoons of chocolate chips!
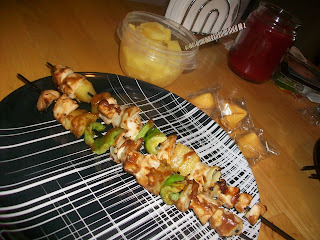
  
Lane's dinner
My (yummier) dinner!
And everyone enjoyed a couple of fortune cookies (also a suggestion from Special K!) which were very fun!!
Ethan is going to be successful in his career...that's good to know I guess!
It was a great ending to a fun day, and I totally suggest trying this recipe!! I'm definitely going to be having these again next week when we have company!

Sunday, May 22, 2011

Pomegranate PorkChops

I have to apologize. Again. Because once again I have failed to keep up with the blog.

BUT! Never fear! I am back and ready to cook! This time, it's going to be cooking, rather than baking because I have been informed (by my doctor ;-)) that I need to be careful of eating too many sweets throughout the rest of my pregnancy...yay for "baby" weight ;-)

SO! I have started following the Special K Challenge (not to lose weight, but to maintain a healthy weight while working off some extra fat!), which includes a healthy dinner straight from their set of recipes (I was actually able to find 7 recipes that I like! So I have a whole week ready to go!)

I started this eating plan today, and so far I'm doing well with it! Lots of fruit and healthy meals throughout the day without wanting chocolate too much!!

The first healthy dinner is a Pork Chop with Pomegranate Glaze.
Ethan saw this picture and said "Oh yes, we eat those and it's delicious!"
This was such an easy recipe and cooked in a really short time! PLEASE NOTE: The recipe is made for ONE person (one serving). So make sure you multiply all the ingredients by how many people you will be feeding!!

Ingredients
1/8 teaspoon salt
1/8 teaspoon ground cinnamon
1/8 teaspoon pepper
1 boneless pork loin chop, cut about 1 inch thick (5 oz)
1/4 cup pomegranate juice
1 teaspoon sugar
2 teaspoons sliced green onions
 Directions
1. In a small bowl, stir together salt, cinnamon and pepper. Rub on both sides of the pork chop.


2. In a small nonstick skillet coated with cooking spray, cook pork chop over medium heat for 7 to 10 minutes or until lightly browned and nearly done, turning once. Remove from skillet. Keep warm.
3. In the same skillet, combine pomegranate juice and sugar. Bring to boiling. Boil, uncovered, for 2 to 3 minutes or until the mixture is reduced to half.
Return pork chop to skillet. Cook, uncovered, about 1 minute more until sauce thickens slightly and pork chop is done. Transfer to serving plate. Sprinkle with onions.


See? So easy! And (as Ethan said) very delicious! I followed the serving suggestion for the meal, and enjoyed 1/2 cup of vanilla frozen yogurt with 1/2 cup of fresh raspberries. Yum!!

It feels good to be back and cooking...good food is fun! Keep an eye out for the rest of the yummy dinners this week!

Wednesday, May 18, 2011

A sneaky little tip for cooking chicken patties...

I love chicken patties. I don't ever order chicken sandwiches when I'm out to eat, because I love burgers too, but I love chicken patties at home.

Normally the instructions say that you can either cook the patties in the microwave for a few minutes (which is convenient, but leaves the chicken soft and almost soggy)...OR...you can cook them in the oven for nearly 20 minutes (which gives delicious crispy chicken patties, but takes forever).

So...I figured out a little trick...a way to have the short microwave-like time, with the wonderful crispy chicken patty flavor I like...

Microwave the patties for 2 minutes (one minute on each side of the patty), then transfer to a baking sheet and bake at 350* for a few minutes until they are crispy enough.

Yay! Deliciousness and ease all in one. So delightful <3