Wednesday, May 11, 2011

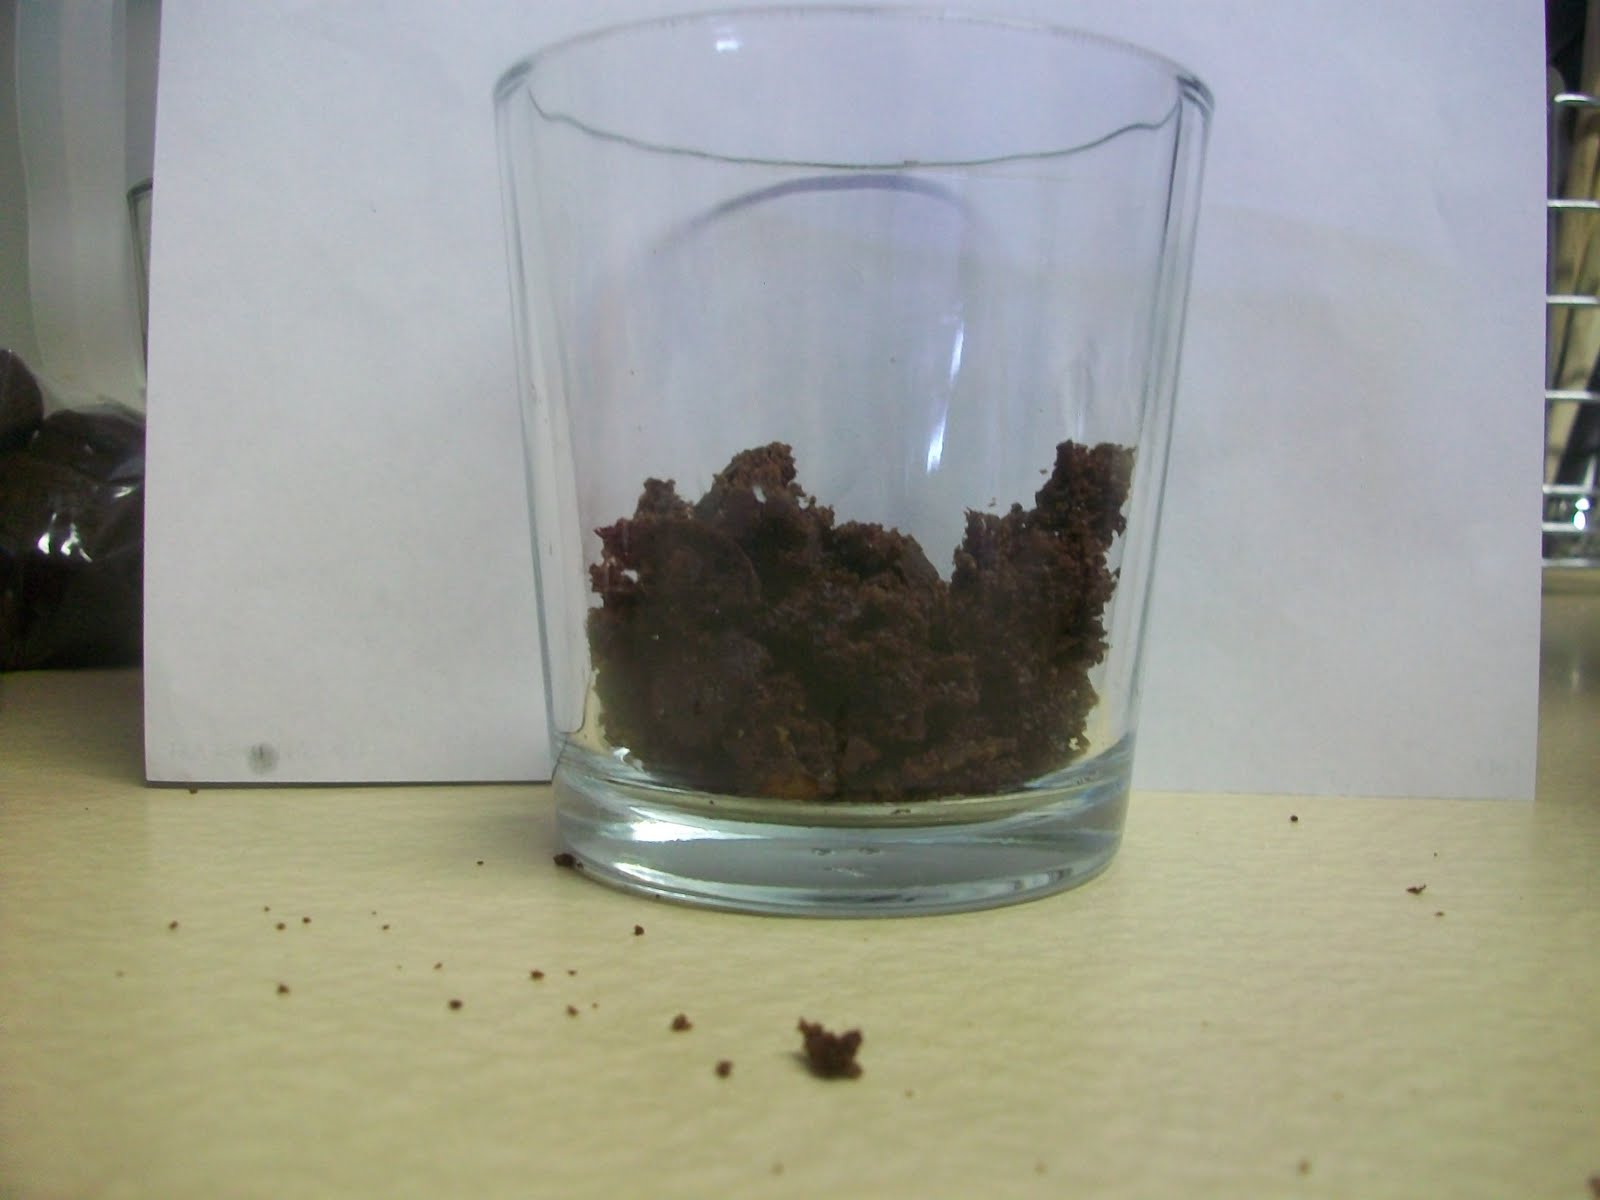
Recycling Food...aka leftover cake trifles!

Super simple to put together, and super cute when all done :-)
I had leftover chocolate muffins (remember these?) so I decided to make them into a simple dessert that was fun for Ethan to help me put together!


Ingredients:
Chocolate muffins
Marshmallows
Chocolate Chips
Vanilla pudding (I know it looks like it's flavored, but it's just colored for fun!)

Instructions:
Layer up the ingredients however you like! Our order is as follows:
- Chocolate muffin crumbles


- Vanilla Pudding


- Marshmallows


- Chocolate Chips


- Pudding


- Chocolate Muffin crumbles


Can't wait until dessert time!!

Cinnamon-Sugar Muffins...for (dinner) Breakfast

These are yum-ilicious!


Tempting right? And (of course) super easy!!

Found these online here, and made them for our "Breakfast for dinner" evening. Yay!


Ingredients:
1/3 c. butter, melted
1/2 c. sugar
1 egg (preferably room temperature)
1 1/2 c. AP flour
1 1/2 tsp. baking powder
1/2 tsp. salt
1/4 tsp. nutmeg
1/2 c. milk


Topping:
1/2 c. sugar
1/2 c. butter, melted
1 tsp. cinnamon


Directions:
Preheat oven to 350F.

In a medium-large bowl, sift together all dry ingredients. Add wet ingredients and stir until combined, but still a bit lumpy. Don't overmix. Scoop batter into muffin tins that have sprayed with cooking spray. Using a large ice cream scoop, I got 8 medium-large muffins out of this batter; I think you could get 10-12 muffins by distributing the batter a little less generously. Bake for 20-25 muffins, or until they just start to turn a bit golden at the edges.


For the topping, mix sugar and cinnamon in a small bowl. Place melted butter in another small bowl. 


Dip the warm muffins in melted butter, then in cinnamon sugar. CONSUME, ENJOY, GO CRAZY!   


Yum. I'm excited for dinner...since I already tried one of these muffins...they were a little plain on the inside, but a little bit of butter made them delightful!

Tuesday, May 10, 2011

Just for fun...

For Mother's Day I got some kitchen stuff...specifically for my fun summer of food idea...I got a rolling pin...and some pastry brushes...and an awesome kit of 101 cookie cutters for every occasion (literally...Christmas, Easter, Halloween, Valentine's Day, sporting events, alphabet...oh yes)...

So, to test out these super fun tools, I decided to make tonight's dinner biscuits in fun shapes (namely, the alphabet and trains/trucks!)


So cute, right?!? Ethan had a blast rolling out and cutting the dough with me, and since I used a pre-made mix (Bisquick), it wasn't a hard task.


So, there is no recipe to share, but a fun idea which didn't take too long to complete, and made dinnertime just a little more exciting.


And I just can't resist cooking with this cutie pie <3

Super Easy (and delicious!) Marinade

First, I'm sorry that I didn't post this yesterday...some of you might have wanted to try it for dinner...because it's awesome. :-D

Second, I have only used this marinade on chicken, but I'll bet it would be good on steak/pork chops/etc. too...

Third: it's so easy...just try it...I made it up myself, so it can't be that hard right??

Orange Garlic Soy Marinade
Ingredients
Orange Juice
Soy Sauce
Garlic Powder
Chicken Breasts

Directions
1. Pour the orange juice into a tupperware or bowl big enough to hold your chicken (with a lid, for shaking!), you need enough orange juice to fill the bowl about 1/3-1/2 of the way full (the amount of chicken you are making will determine the amount of juice you need).
2. Add a tablespoon of soy sauce to the orange juice and stir. Add garlic powder to taste. (I say to taste because the garlic is a strong ingredient, and some people don't like super garlic-y foods. I used about a teaspoon at this step.)
3. Add your chicken to the juice mixture. Pour 1/2 cup of orange juice and another tablespoon of soy sauce over the top of the chicken. Sprinkle with garlic powder (if you want more, 1/2 a teaspoon here for me, but this part is optional.)
4. Cover with the lid (it needs to be a locking lid so that the juice won't fly everywhere) and shake the bowl to combine all ingredients and cover chicken on all sides.
5. Let the chicken sit and marinade until time to cook. The longer the better! (Depending on how soon you are cooking, how much chicken you have and whether or not your chicken was frozen to begin with, you can either let the chicken defrost/marinade on the counter or in the refrigerator.)

We BBQ this chicken (which is awesome), but I think I might try to bake it in the oven sometime too...I think it would be really good baked! Enjoy!

Sunday, May 8, 2011

Green Beans for my mother

Happy Mother's Day!

Since I'm a mother myself, I decided to make something today that I know how to make already, and that doesn't take much time to do! Since my mom loves green beans, I went with a Southern Fried Green Beans recipe that I've made for a couple of years for Thanksgiving...everyone loves it!

I don't have any pictures right now because I haven't actually made it yet this morning...I'll be making it this afternoon for the BBQ :-)

The recipe is here, and I don't change a thing! Though I'm not a fan of green beans (and haven't ever tasted this recipe myself ;-)), it only ever gets good reviews from my family!

Ingredients

  • 5 slices bacon, diced
  • 2 (15 ounce) cans green beans, drained
  • 1 tablespoon white sugar
  • salt and pepper to taste

Directions

  1. Place the bacon in a skillet; cook over medium-high heat, turning occasionally, until evenly browned and crisp. Mix the sugar and green beans into the bacon. Cook over medium-high heat until green beans become become soft and limp and start to caramelize. 
 
Enjoy! Happy Mother's Day to all the moms out there! <3 

Saturday, May 7, 2011

Gooooood Morning Saturday! (Chocolate Muffins)

Alright...waking up early is NOT my thing. But I'm getting used to being awake before 6:30 (6:14 this morning) with the kiddo, so I figured I might as well make the best of it (or bake the best of it as the case is ;-))...


Hungry yet? I sure was...and my house smells of chocolate and is all warm and toasty (which is why my screen door is now open...I'm waiting to see how long it will take the neighbors to come knocking on my door ;-))!
Young Flash says "Chocolate YES!"
 This is the first time that I've had to think about the recipe I was making and make slight changes to it. The original recipe was missing the instructions for one of the ingredients, and the ingredient list was in an awkward order. So I followed the basic premise and the ingredient list, and made the following recipe:

Ingredients:
2/3 cup of baking cocoa.
2 cups of flour.
1/2 cup of sugar.
2 teaspoons of baking soda.
1/2 teaspoon of salt.
2 large eggs.
1 1/3 cups milk.
1/3 cup of vegetable oil.
1 teaspoon of vanilla.
1 cup of chocolate chips. (divided)


Directions:
1. Preheat oven to 350*. Spray your muffin pans with non-stick cooking spray. ((I suppose you could use muffin liners, but the cooking spray worked really well, the final muffin isn't sticky, so I had no problems popping the muffins out of the pans. I used 2 mini-muffin pans (48 muffins) and 1 regular muffin pan (12 muffins), which worked out perfectly.))
2.  Combine the dry ingredients in a large bowl.
3. Whisk the wet ingredients together in a separate bowl. Add to the dry ingredients slowly, mixing constantly. (I used a wooden spoon to get the mix basically moist, then whisked the batter together to make sure all the liquid was well integrated.)
4. Add 1/2 cup of chocolate chips and mix. Scoop into muffin pans. Top the muffins with the rest of the chocolate chips.
Mini-muffins topped with chocolate chips!
5. Bake for 10-15 minutes, or until a toothpick (or fork) stuck in the center comes out clean. Remember that the mini-muffins will take much less time to cook than the big muffins!
6. Cool on a rack before removing from the pans, then cool completely on the racks. (By cooling the pan on the rack, away from the oven first, the muffins don't over cook while cooling in the pan, and you don't burn your hand off trying to take the muffins out of the pans.)
7. ENJOY!
These muffins made Saturday worth being awake! The recipe tastes a lot like a basic chocolate cake, and would probably make a *delicious* chocolate layer cake with yummy frosting! (Might have to try that this afternoon ;-))

Friday, May 6, 2011

Burger Buns...from scratch!

I love hamburgers. I have for like...ever. So the idea of making delicious, warm, fresh-out-of-the-oven buns for them myself is like "icing on the cake"...or "buns on a burger" rather ;-)


And it was so simple! And my house smells delicious, and I can't wait to have burgers for dinner tomorrow night! (Yes, tomorrow...my parents invited us over for pizza tonight, so these delicious little buns will have to wait!)

I got the recipe here, and made no changes! It was SO perfect! (Even for me, a cook who is afraid of using yeast because I just know something is not going to work out right!!)

Ingredients:


[[ooops, did make a small change, I didn't use the optional onion stuff...I don't care for the flavor, and wanted to be able to use these buns for sandwiches too, so I left them plain]]

Before rising (just after mixing)
Directions:
1. Combine all the ingredients and mix and knead them together, by hand or by mixer, until you have a soft, smooth dough.
2. Place the dough in a lightly greased bowl, cover and let rise for 1 hour.
After rising for an hour...yay!
 3. Divide the dough into 8 pieces and shape each piece into a flattened ball; place the buns on greased baking sheets, cover and let rise 30-40 minutes, until they're puffy.
Before rising...
...and after!
4. Preheat oven to 375°.
5. Bake the buns for 12-15 minutes, until they're golden brown; remove from oven and baking sheet and cool them on a rack. 
I split them into two pans to bake, but I think they would have been okay on one.
6. Split and use for burgers or sandwiches.
Delicious, buttery, warm, bready goodness!
 They turned out AWESOME, are lightly buttery, and ever so delicious! These could *easily* be made with garlic, or cinnamon/sugar, or other spices to make "rolls" for breakfast or as a side to any other dish. They are really that good!!